Like a countertop filter, an undersink water filtration system attaches to the cold water pipe under your sink. After the water goes through the pressurized filter, it is redirected to the faucet as clean water that is free of contaminants. Certain undersink models require a distinct faucet. Another option, which may be more convenient for some homeowners, is to have the cold water supply go straight to the filter.
With the exception of reverse osmosis systems, an undersink water filter eliminates the need to dispose of dirty water by removing impurities from the water supply. Another feature of reverse osmosis water filters is a storage tank that sends the filtered water before reaching your faucet. Though they’re a bit more costly, reverse osmosis filters are worth considering. However, many undersink systems that consumers typically choose aren’t.

Steps to install an undersink water filtration system
You can install an undersink water filter by connecting it to the cold water pipe under the sink. This pipe is intercepted during installation, and the installed filter is removed. Additionally, you may need to use an existing hole in a soap dispenser or drill a hole in the kitchen sink if your water filtration system does not come with a tap.
- Close the cold water supply valve
Two incoming water pipes and a drainpipe are visible when you open the kitchen sink cabinet. Since the filter is specifically designed for cold water, you will need to turn off the valve that supplies that water.
- Take out the tubing for the cold water
Disconnect the water supply to the kitchen sink. To remove the tubing from the water line, you will need to use a wrench to loosen the nut.
- Set up the feed/adapter valve
After that, attach an adapter to the line that supplies water. To connect the 1/4-inch tubing, use a copper T-adapter with a branch.
- To make sure the threads are properly sealed, wrap them with Teflon tape.
- Proceed cautiously as you thread the T onto the cold water line.
- Make sure you have a snug fit using two sets of wrenches. Hold on a second; don’t pull too hard.
- The next step is connecting the undersink water filter’s tubing to the copper T.
- Then, fasten the stopper to the plastic pipe. Changing cartridges is a breeze with this little valve.
- Put the nut that comes with the T-fitting into place.
- Make sure the copper insert stays in by pushing it into the pipe.
- Install the copper T fitting onto the tubing and secure it.
- You should make a hole in your sink.
A hole in the countertop must be drilled if the undersink filter system you purchased comes with an additional tap for filtered water. Additionally, the soap dispenser can fit well in the pre-drilled hole.
You will require a grinder to get the job done on a granite countertop. Keep in mind that it’s not easy; it gets dirty, and it can ruin the granite if you’re not careful.
- Put the new tap in place
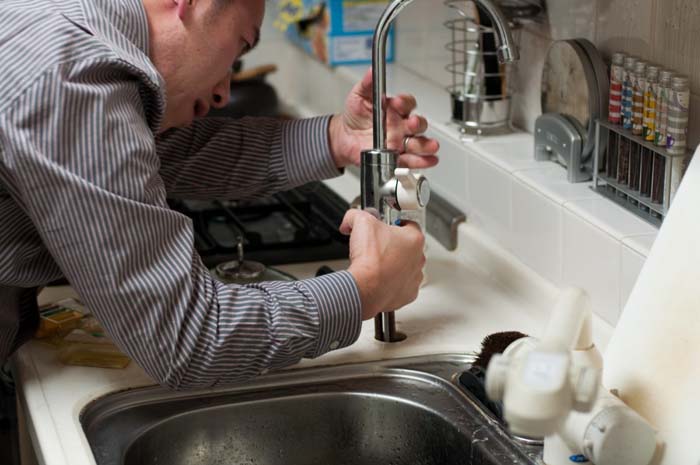
After successfully drilling a hole in the countertop, the next step is to install the extra tap. While you tighten the fitting from the cabinet’s interior, a friend may help to hold the faucet on top.
Use caution while working with pre-drilled holes; they may be larger than necessary. So, to prevent water from leaking, insert some putty under the faucet’s gasket.
Connect the tap to the filter tubing using a set of washers, nuts, and a brass insert for the tubing inside your cupboard. Secure the fasteners.
- Mounting the filtration system
Mark the desired placement of the holes in the undersink water filtration system by holding it up against the side or rear of the cabinet. Step two involves using a drill to create the holes.
Ensure there’s enough room under the unit for the housing to be removed without hassle. Because it will support a substantial weight, you should also fasten the system to the cabinet.
- Connect the pipes and fixtures
Once you have established the connections, you may connect the filter steps. Find the two ports that are on the unit’s side. There is one for water entering and one for water leaving.
Connect the filter head’s internal adapter to the cold feed water line. The same goes for the tubing from the tap; insert it into the external adapter.
- Turn the water back on
Turn on the valve that you had previously shut off. The next step is to open the filtration system’s shut-off valve by sliding it vertically into the tube.
Open the valve carefully to avoid damaging the unit from the sudden high pressure. To let out any trapped air, click the button located on top.
- Inspect for leaks
Look for drips or leaks in every connection. Give them a quick fix.
- Give the system a chance to flush
Allow a few minutes of running cold water to flow from the tap. Before using fresh filter cartridges, ensure the line is clean and flush them. Instead of throwing it away, put it to use by watering plants or washing dishes.
Lastly, with your undersink filtration system set up, you may reap many benefits.
Do under sink water filters work?
A neat way to filter water is to use an undersink filtration system. These filters will provide pure water free of contaminants like heavy metals and pollutants whenever you need it. On the other hand, these units are expensive and could be difficult to install for those with little DIY skills.
An undersink water filtration system is a good investment if you want filtered water whenever you need.
How much will it cost to install an under-sink water filter?
A simple and inexpensive approach to purifying the water in your house is to install an undersink water filtration system. How much it will cost to have you install the filter depends on a number of variables, such as the kind of filter you get, where you live, and whether you want to DIY or hire an expert.
Costs between $200 and $500 are typical for an undersink water filtration system. All the following are included in this price: the filter, any extra installation parts needed, and labor expenses if you decide to engage a professional.
How long do Undersink filters last?
Regular monitoring of a standard undersink water filtration system is necessary to avoid the accumulation of impurities that could compromise future water quality.
Some guidelines for monitoring and changing filters are as follows:
- Change the membranes every two years for reverse osmosis and the additional alkalizers every four years.
- Change the filter in your home every six to twelve months.
- Update filters in commercial settings every four to six months.
Do under sink water filters get moldy?
Filters are a breeding ground for cold spores due to their potential dampness and warmth. To prevent mold growth, you should diligently maintain the water filter by replacing or cleaning it according to the manufacturer-set schedule. The solution is to call a professional or replace the water filter yourself.
Pros and cons of countertop water filters
Advantages:
Thanks to a countertop water filter, you can filter water whenever needed. There will be no need to wait to refill pitchers with filtered water. You can receive pure, tasty water with the simple flick of a tap.
For many who have embraced countertop filter systems, the ease of installation is the deciding factor. Remove the aerator from the kitchen tap and connect the diverter valve. This will help direct water to the filter; there’s no need to get beneath the sink.
Disadvantages
They are a nuisance to have on your kitchen counter. There are a lot of us who value every inch of counter space. Since they will always be on display in your kitchen, you should also be happy with their appearance.
Additionally, their quality varies. There are a lot of inexpensive, single-stage models available for countertops, but they aren’t much better than a pitcher filter.
Lastly, these water purifiers will only work on the faucet where you place them; they are called point-of-use filters.
Conclusion
You should feel more at ease installing an undersink water filtration system now that you know the process, which isn’t hard but does require some tool proficiency. The complexity of the plumbing system under your sink is another factor to consider. If your sink has hidden pipes, you must engage a professional plumber. This is because accessing the lines may require removing concrete and even tiles. If you’re unfamiliar with plumbing, it’s best to employ a professional.
