A home’s plumbing system can’t function properly without proper water pressure and flow. Your home’s washing machines, showers, and faucets, among other appliances, rely on them to efficiently supply water.
What is water pressure?
The force that causes water to flow through pipes and into your house is known as water pressure. Units of pounds per square inch are commonly used to measure it. A number of factors, including the pipe diameter, the height of the water supply, and any plumbing system obstructions or constraints, affect the water pressure in your home.
Importance of Water Pressure:
- Extremely high water pressure and flow can damage or even burst fixtures and pipes.
- Showers and faucets should have sufficient water pressure to ensure a pleasant experience.
- Water heaters, washing machines, and dishwashers all work more effectively with the right amount of water pressure.
Understanding Water Flow
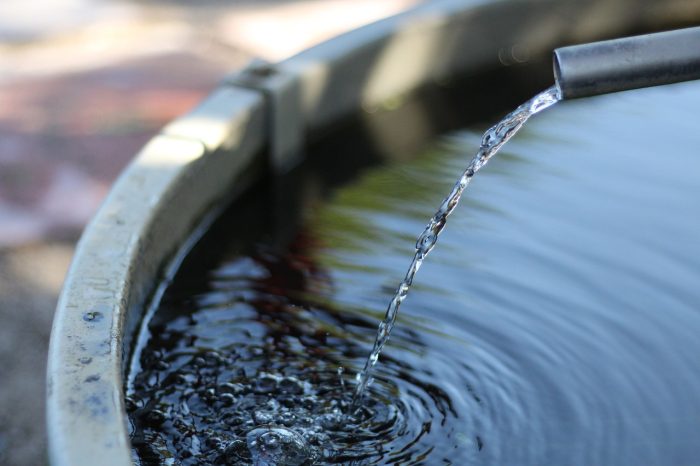
Water flow is the volume of water that passes through your pipes in a given period of time. It is usually measured in gallons per minute (GPM). The flow rate is influenced by a variety of factors, including the number of fixtures being used at once, pipe condition and size, and water pressure.
Importance of Water Flow:
- Water conservation and reduced utility expenses are two benefits of effective water flow management.
- Appliances and fixtures, especially those that use a lot of water like irrigation systems and garden hoses, need adequate water pressure and flow rates to work properly.
- Even when using a number of fixtures at once, a good flow rate will keep water circulating throughout the entire house.
Common issues with water pressure
Problems with water pressure and flow in a business or house can be annoying and have many potential causes. The following are typical causes and symptoms of problems with water pressure and flow:
- Pressure drops when using multiple fixtures
- When using many fixtures, older or incorrectly sized pipes might not be able to produce enough flow.
- Make sure the main water line and supply lines are large enough to handle the demand when working with multiple fixtures at once.
- Water pressure is high
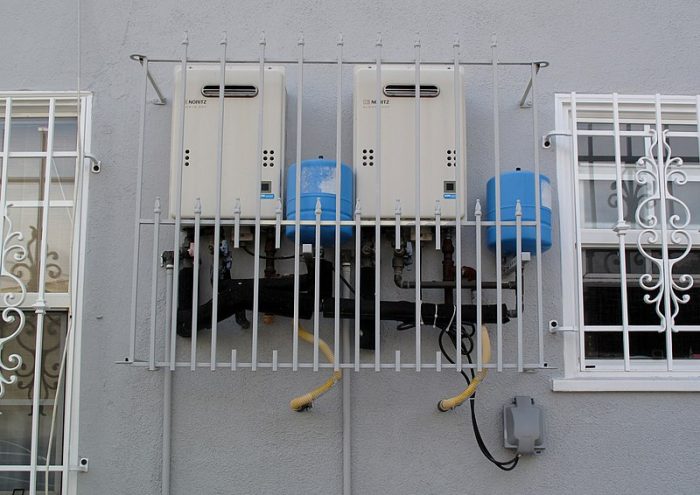
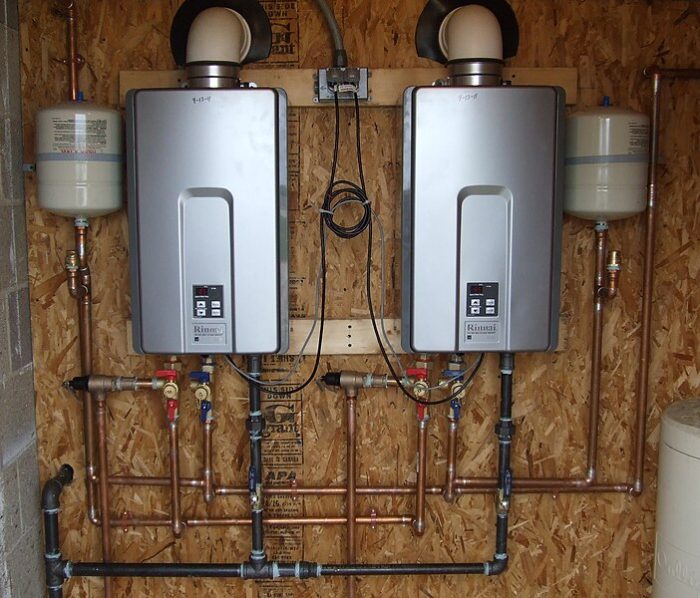
- In homes with water heaters, if the expansion tank is absent or not functioning properly, the pressure may rise as the water heats and expand.
- High pressure in your home can be due to an overly pressurized municipal water supply. One way to deal with this is to install a pressure regulator.
- Appliances and plumbing fixtures are vulnerable to damage from extremely high water pressure and flow, which may be due to a broken pressure regulator.
- Water hammer (noisy pipes)
- When an appliance or faucet abruptly turns off, it might jolt or hammer the pipes if the water pressure is too high.
- If you don’t fasten the pipes correctly, they can make a hammering sound. Abruptly turning off the water flow causes this sound.
- To reduce the impact of a sudden water shutoff, your plumbing system likely has air chambers. The presence of water in these spaces might lead to the phenomenon known as water hammer.
- Inconsistent water pressure
- Water pressure fluctuations can be due to shutdown valves that aren’t entirely open or partially closed.
- Inconsistent pressure may be caused by issues with the pressure tank or water pump in homes that use well water.
- Your home’s water pressure and flow may fluctuate due to changes in the municipal water supply’s pressure.
- Areas with reduced water pressure
- A leak or clog in one area of the plumbing system could impact the water pressure and flow in that area.
- Sediment and other debris can clog faucet aerators, lowering the water pressure at that specific fixture.
- Water pressure is low
- It’s possible that the problem isn’t at your house but rather with the public water system. This may happen during regional demand spikes or maintenance.
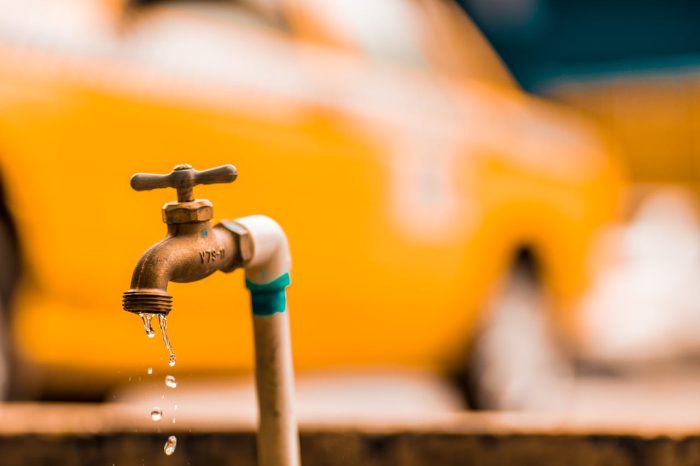
- If there is a leak in the plumbing system, the water pressure at fixtures may decrease.
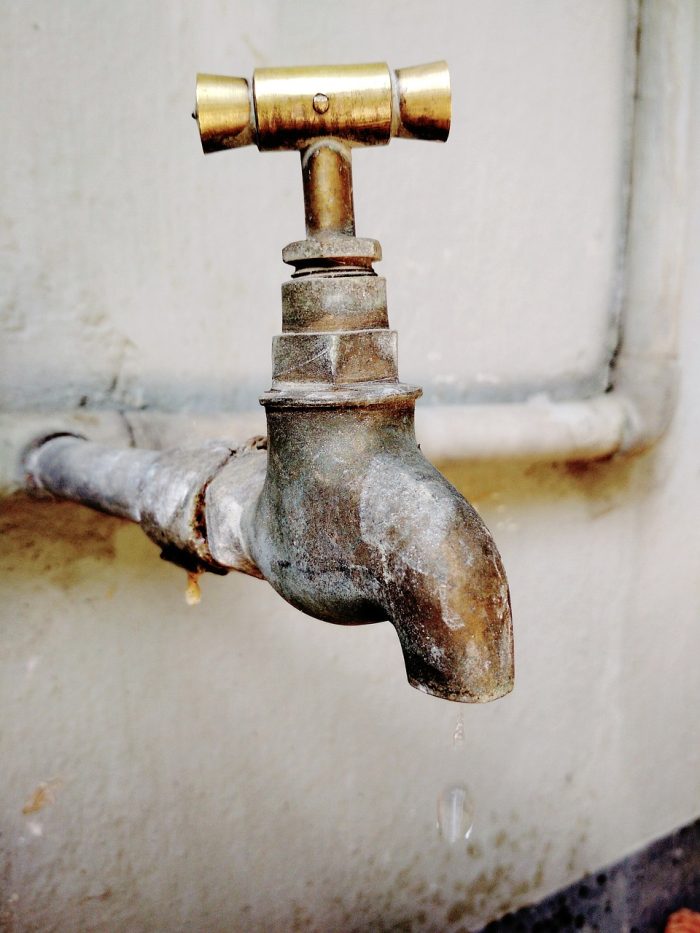
- Corrosion can lower water pressure by narrowing galvanized steel pipes, which is a common problem in older homes.
- Low water pressure can be caused by a malfunctioning pressure regulator in your home.
- Over time, the accumulation of debris or mineral deposits inside pipes can reduce their interior diameter and slow down water flow.
Solutions:
Hire a plumber
Call a professional plumber for diagnosis and repair services if the problem is more complicated or if you aren’t sure what’s causing it.
Inspect for leaks
Check your plumbing system for leaks and fix them immediately.
Install a water softener
A water softener helps lessen the deposits of minerals in pipes if this is a problem.
Pressure regulator adjustment or replacement
Make sure your pressure regulator is set to the right pressure (often 40 to 60 psi) or get a new one if yours is broken.
Check and Clean Aerators
Regularly clean faucet aerators to keep them free of clogs.
Because water pressure and flow problems can have many different causes—some of which may necessitate the assistance of a professional—an accurate diagnosis is essential before attempting a solution.
Water Pressure Measurement Tools
Instruments for measuring water pressure are used to determine the amount of force that water is exerting in a plumbing system. Whether it’s a basic home inspection or a sophisticated industrial monitoring system, there is a tool for it. Common instruments for measuring water pressure are as follows:
- Pressure Calibrators
- For the purpose of adjusting the settings of various pressure gauges. One can guarantee accuracy by comparing additional devices to their known pressure output.
- Manometers
- A U-Tube Manometer: a user-friendly instrument that measures pressure by monitoring the movement of a liquid through a U-shaped tube. This is a common tool for measuring low pressure.
- A digital manometer is one that uses electronic means to measure pressure and displays the results digitally. On occasion, they outperform U-tube manometers in terms of accuracy and adaptability.
- Pitot Tubes
- It measures the water’s pressure-dependent flow rate through a pipe. It is commonly used for testing fire hydrants and large pipeline networks.
- Pressure Transducers and Sensors
- The strain gauge pressure transducer converts pressure into an electrical signal. The strain gauge pressure transducer is frequently used in industrial environments that require remote monitoring.
- For situations with high frequencies or sudden changes in pressure, a piezoelectric pressure sensor can be a lifesaver.
- Differential Pressure Gauges
- It determines the difference in pressure between two points. The pressure drop is a critical parameter in many applications, including filtration systems.
- Flow Meters
- Some versions also show pressure, though they are most commonly used to measure flow rate. Maintaining a systematic monitoring of both factors is crucial.
- Pressure Gauges
- Most commonly used is the Bourdon tube pressure gauge, which measures pressure by having a coiled tube that becomes straighter under increasing pressure. It is commonly used in both commercial and residential settings.
- A digital pressure gauge, which may also record data and give a digital reading of the pressure, is one option. Compared to analog gauges, these are both more precise and simpler to read.
- Hydraulic Pressure Test Kits
- It usually comes with a pressure gauge, adapters, and hoses. Experts utilize it to examine and identify elevated water pressure in complex systems such as fire suppression, plumbing, and HAVC.
The precise requirements of the job dictate the tool selection because of the vast variation in precision, range, and applicability among these tools.
Improving Water Pressure and Flow
Watering the garden, washing dishes, and showering are just a few of the everyday activities that can benefit greatly from an improvement to a building’s water pressure and flow. Add water flow and pressure by doing the following:
- Use pressure-equalizing valves
- They are excellent for showers because they balance the flow of cold and hot water, which helps keep the pressure consistent.
- Replace or clean clogged pipe
- Old and rusted pipes may require replacement in extreme circumstances.
- Mineral deposits, particularly in locations with hard water, can eventually choke pipes. This can drastically reduce water flow.
- Check and clean showerheads and faucets
- The aerators in many types of showerheads and faucets are susceptible to mineral buildup and dirt. You can clean them or replace them to improve water pressure and flow.
- With a high-pressure showerhead, you can maximize your water pressure regardless of its level.
- Check for leaks
- Plumbing leaks could result in reduced water pressure and flow. If you hear water flowing somewhere in the house, be sure to check all the pipes that are visible.
- Pressure and water savings can be achieved by repairing even the smallest leaks.
- Install larger pipes
- In older homes with narrow pipes, increasing the diameter of the main supply pipe can help to improve flow.
- Make sure there are no sizing issues with the pipes, so the system runs smoothly.
- Inspect the water pressure regulator
- You may have accidentally left the water pressure regulator on the lowest setting in your house. Adjusting it frequently resolves pressure problems. In a typical home, the ideal water pressure ranges from 40 to 60 PSI.
- If the regulator is broken or old, replacing it could boost pressure.
- Check for shared water lines
- Water pressure drops during peak usage periods if you and your neighbors share a water line. Think about alternatives and their pros and cons, such as running different lines.
- Consider expert help
- A licensed plumber can inspect your system and provide tailored recommendations for upgrades if do-it-yourself fixes fail.
- Install a water pressure booster
- You can increase your home’s main line water pressure with one of these pumps. In places where the municipal water pressure and flow are inherently low, they are especially helpful.
In many cases, following these procedures can improve your home’s water pressure and flow, resulting in improved plumbing system performance.
Conclusion
If you want to keep your home’s plumbing system in good working order, you must know how water pressure and flow relate to one another. Maintaining a happy medium between the two will make your home’s water system more functional, comfortable, and long-lasting. If you want your house to run properly, it’s important to monitor and maintain the water pressure and flow systems on a regular basis.