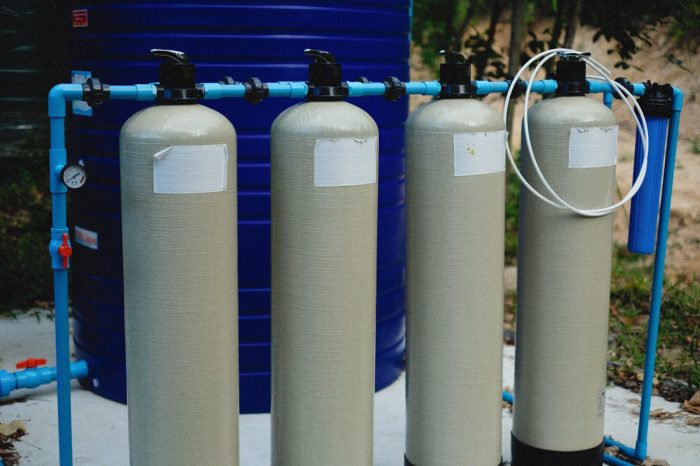
A water filtration system can maintain the cleanliness, safety, and high quality of your home’s water supply. This system consists of one or more devices that work together to remove pollutants, impurities, and other undesirable elements. These water filtration systems are essential for purifying water, enhancing its taste, and preventing health problems. Your demands and preferences will determine the best location for their installation in your water system.
Types of Home Water Filtration Systems:
Different pollutants and water quality requirements necessitate different kinds of household water filtering systems.
- Ceramic Filters
Ceramics have microscopic pores that allow water to pass through while retaining all other contaminants. The process flushes out sediment, cysts, and bacteria. Additionally, certain ceramic filters undergo treatment to eliminate chemical pollutants. This filter is ideal for houses that require the removal of biological pollutants. Portable filtration systems and countertop models are common types.
- Water/Alkaline Ionizer Filters
These water filtration systems utilize electrolysis to convert water into an alkaline state. The main goal of ionizers is to raise the pH of water and add minerals such as magnesium and calcium; however, they also filter pollutants. They are an ideal choice for those looking to enhance their health with alkaline water. Common types are undersink or countertop models.
- RO Systems
Reverse osmosis systems work by forcing water through a semi-permeable membrane, which filters out contaminants depending on their size. It gets rid of heavy metals such as mercury and lead, viruses, nitrates, fluoride, bacteria, and other dissolved substances. These systems are perfect for homes situated in areas with poor water quality or elevated pollution levels. These water filtration systems commonly come in two types: whole-house and under-sink.
- Ion Exchange Resin Filters
These filters use ion exchange resins to replace calcium and magnesium, which are undesirable ions in the water, with sodium and other desired ions. These filters are designed to remove specific dissolved ions, heavy metals, and water hardness. They are perfect for selectively eliminating heavy metals and enhancing the quality of hard water. Whole-house systems and undersink filters are two common types.
- Ultraviolet Purification Systems
It utilizes UV light’s power to eliminate or deactivate specific microbes. Biological pollutants, including pathogens, are eliminated. These water filtration systems are best for well water or places where water-related illnesses are common. Point-of-entry or whole-house water filtration systems are common types. In addition, they frequently work in tandem with other types of filters, such as sediment or reverse osmosis filters.
- Water Softeners (Ion Exchange Systems)
To soften water, these systems use an ion exchange mechanism to eliminate hardness-causing magnesium and calcium ions. Appliances and pipes can’t withstand the development of hard water minerals like magnesium and calcium. Households with hard water issues benefit the most from this. Common types are whole-house systems.
- Distillation Systems
Boiling water and then condensing the steam into clean water removes the majority of impurities. These processes eliminate salts, heavy metals, and various pollutants such as viruses and bacteria. Water that is free of minerals is ideal for residential use. Common types include distillation machines that sit on a countertop.
- Multi-Stage Filtration Systems
To completely purify water, these water filtration systems use a combination of filtration methods, such as RO, carbon, and sediments. Eliminate a broad range of pollutants by utilizing different steps. For households that require extremely pure water, this is the ideal option. Three common types are whole-house, countertop, and under-sink.
- Activated Carbon Filters (charcoal or carbon filters)
These filters use activated carbon to remove contaminants from water. These filters eliminate VOCs, sediment, chlorine, unpleasant taste, and smells. If your local water supply emits an unpleasant taste or odor, consider using these filters. Under-sink filters, faucet-mounted filters, and pitcher filters are the most common types.
- Sediment Filters
A physical barrier can contain rust, dirt, and other large debris and particles. Debris, dirt, sediments, rust, and other material can be removed. This will benefit well-water or visible-particle homes most. Common types include pre-filters used in whole-house or multi-stage systems.
Benefits of Home Water Filtration Systems
Installing a water filtration system in your home can improve the taste, safety, and overall quality of your drinking water. Here are some of the main benefits:
- Peace of mind
You can ensure that the water you drink is safe from harmful toxins and corrosion caused by city water systems by installing a water filtration system in your home.
- Customizable filter choices
The impurities in your water and your individual demands will determine which of several filtering systems—ultraviolet filters, activated carbon, or RO—you should use.
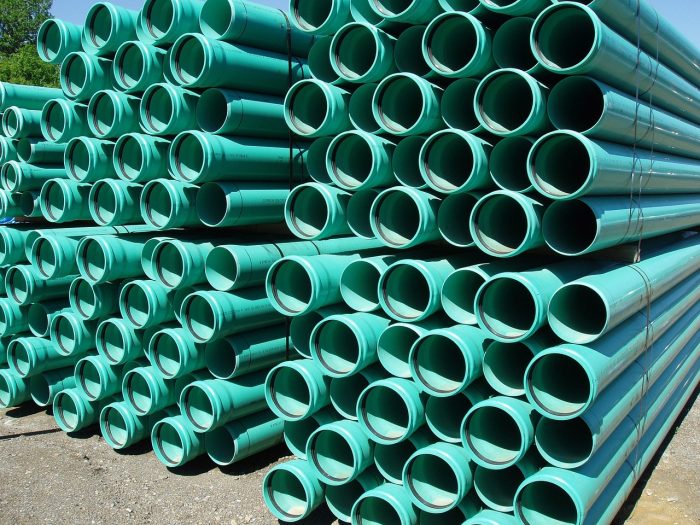
There are both point-of-use systems designed to treat water at the source, such as appliances or faucets, and whole-house filtration systems available.
- Affordable
Having a water filtration system at home helps cut down on the wasteful and costly practice of buying bottled water.
Because it reduces mineral deposits and sediment accumulation, filtered water can help appliances like water heaters, washing machines, and dishwashers last longer.
- Health benefits
When exposed to tap water for a long time, fluoride and chlorine can harm health. Filtration is a beneficial way to reduce or eliminate harmful pollutants.
To minimize the likelihood of eating dangerous pathogens and bacteria that could otherwise go undetected, a reliable filtering system is essential.
- Eco-friendly
Water filtration systems help reduce environmental pollution and plastic waste by minimizing dependency on bottled water.
Passive water filtration systems, such as carbon filters, use very little energy compared to the production and delivery of bottled water.
- Easy to maintain
The majority of today’s water filtration systems are low-maintenance because they simply need to have the filters changed at regular intervals.
- Better water quality
Most municipal water systems contain contaminants such as bacteria, heavy metals, pesticides, chlorine, and lead. However, water filtration systems can remove or greatly reduce these contaminants.
In addition to ensuring the water’s safety for drinking and cooking, many filters also eliminate bacterial pollutants.
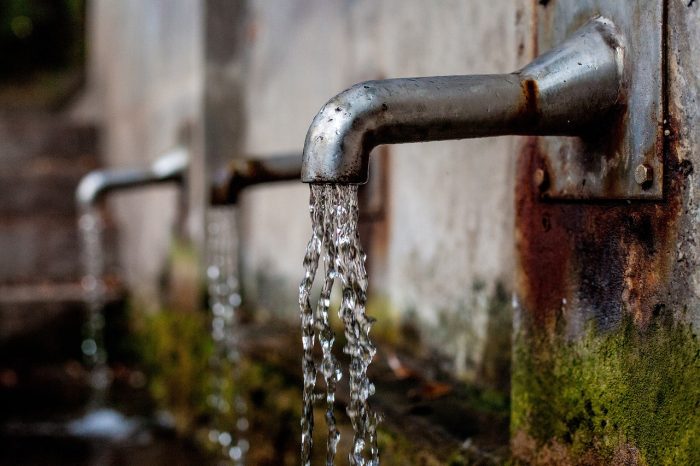
- Better smell and taste
Removing chlorine and other contaminants greatly enhances and makes water more drinkable.
The presence of pollutants or excessive chlorine levels can cause some municipal water systems to smell bad. Filtration can remove these smells.
Investing in water filtration systems has many advantages, including better water quality, less waste from disposable bottles, and increased safety for you and your family.
Choosing the right water filtration system for your home
Considerations such as specific home filtration needs, pollutants, water sources, and budgets should be considered when selecting appropriate water filtration systems. You can make a well-informed choice by following this guide:
- Test Your Water
It is important to identify the contaminants before choosing a system.
- Get a water testing kit for your house or have a professional check your well water.
- If you use municipal water, contact your city’s water provider to get a water report.
Common contaminants include:
- Viruses and bacteria
- Pesticides
- Volatile organic compounds (VOCs)
- Chloramine/ Chlorine
- Lead
- Sediment
- Hard water minerals (magnesium, calcium)
- Consider Your Filtration Needs
- To avoid scale formation in mineral-rich water, a water softener can remove magnesium and calcium.
- Activated charcoal systems or carbon filters are effective for smell and taste.
- Consider a UV purifier, water softener, or sediment filter for whole-house filtration.
- Carbon filters or RO systems work wonders for potable water.
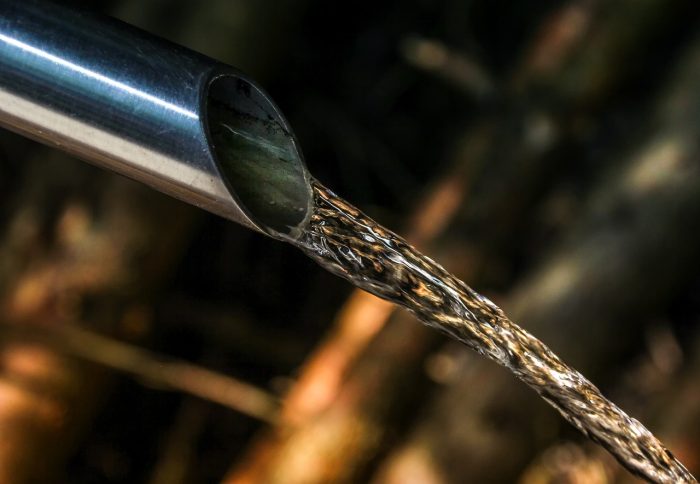
- Identify Your Water Source
Although purified, water from cities and municipalities may still have toxins like fluoride and chlorine.
Untreated water from a water well often includes sediment, bacteria, and minerals such as arsenic, magnesium, or iron.
- Other Considerations
- Some water filtration systems need expert installation and frequent maintenance, such as filter changes.
- RO, or whole-house systems, are more expensive than faucet filters and pitchers.
- Make sure there’s enough water in the system to meet your needs.
Conclusion
Before settling on a water filtration system, it’s wise to take stock of your water supply’s quality, your individual water needs, and the contaminants you wish to eliminate. To begin the process of choosing the correct system, water testing can serve as a solid foundation.

 Water Is Important
 Benefits of Air Admittance Valves